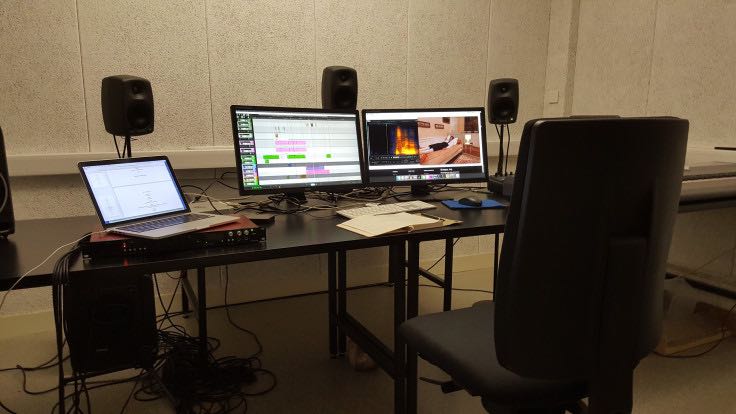
After the shooting was completed Christophe and I came back to Le Mans and stationed ourselves at the ESBA-TALM school. I started to make preparations for the long journey into the rabbit hole of 3D sound post-production. I will talk more about the software, plugins and workflows later, but a big decision at this stage was to use Reaper as the main platform for the linear sound work. As most of the project would consist of 360 videos, it was a natural choice to use a DAW (Digital Audio Workstation) to edit, mix and spatialise the audio in sync with the picture before exporting it to an audio middleware or game engine for interactive functions and playback. Reaper was one of the only choices for a DAW due to its flexibility with multi-channel tracks and compatibility with VST (Virtual Studio Technology) effects.
Syncing the dialogue
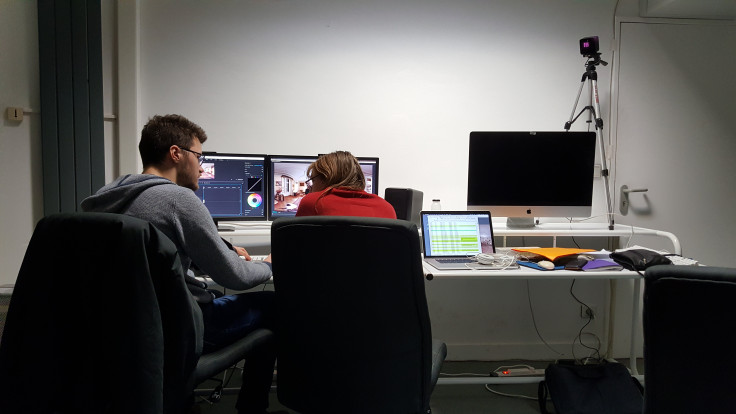
While I was getting my head around the audio issues Christophe was working on the video material from the shooting. The video clips from the eight GoPros needed to be stitched together to create the 360 videos. During the following weeks Christophe and another editor at DVgroup in Paris pre-stitched the material using Autopano software by Kolor. Audio from the internal mic of one of the GoPros was selected as the guide audio track for the video clips.
However no audio from the production sound recorders was synced to the stitched videos. Editing was done with the GoPro's internal sound, and for example any parts of the dialogue recorded outside of the set was not audible. Only after the editing had started and when the director knew which takes would be used I was asked to deliver the mixdown of the dialogue tracks for each stitched video clip to be synced on the timeline of Premiere Pro. I prepared the mixdowns in Reaper syncing them with the slate and exported them as mono files. (Later I realised that we lost some valuable metadata in the process that could have been useful when the sound editing was about to start.)
Christophe got now some additional work as he had to take extra steps to attach external audio to already edited video clips. My mistake was also not to deliver him multichannel audio files at this point, but instead only the mono mixdown. Even though the mixdown served the picture edit fine, it caused me extra work afterwards as I needed to sync the individual mic tracks manually in Reaper when starting the dialogue editing.
Although it wouldn't have solved my syncing problems in sound editing, taking the mixdown track from the field recorder and aligning that with the video in Autopano would have been a quick way to get at least nice and clean audio for the picture edit.
AAF, OMF, XML
In the beginning of March the rough-edits were finally done. (The films have a lot of cuts between different camera positions almost as in traditional cinema.) The easiest way for me to start with dialogue and sound editing would have been to take AAF or OMF exports from Premiere and open them in Reaper. In that way I would have had all the raw dialogue audio synced and trimmed to the picture edits while preserving their original length so that I could easily manipulate and replace any audio, even go back to the slate frame if needed.
However it turned out that Reaper does not understand AAF or OMF, which is almost unbelievable. The AATranslator converter software would have done the trick, but it was not a cheap option. With Vordio it is possible to convert XML export to a Reaper project, and while not free either, that was the solution I went for.
However, as I already mentioned, there were no original microphone tracks in the video edit project but only the mixdown. So I still needed to sync the individual tracks manually in order to start with dialogue editing. This is something that I must streamline for the next 360 video project.
Dialogue editing
The dialogue editing was somewhat more complicated in this project than in a traditional 2D film as far as I know about the subject. One difference was that − due to spatialisation − I could not rely on using room tone or any noise to fill the gaps between each character's lines. Had I done that the room tone would have travelled with the character when he was moving around the spectator. That would have sounded weird, as if the character was producing a constant noise. In some places where the character was stationary I did, however, managed to use fill noise in a conventional way if it blended nicely with the surrounding background atmo.
Furthermore, the material from the lavaliers was very noisy: the clothing noise was significant especially with Karl, sometimes ridiculously loud. Also the background noise varied a lot even during one take, presumably due to the radio systems.
Because of these reasons I had to execute some heavy denoising with iZtope RX. Alternatively I tried to find another take.
An irritating bug in Reaper slowed down the cleaning process: whenever I had edited a clip outside Reaper in iZotope and imported it back on the edit lane, Reaper refused to play it back. Instead it played the original file. Only after restarting the programme I could hear the new edited clip. Doing this after each edit was naturally not possible, so I had to make a bunch of edits, then restart Reaper and listen to the changes in the context of the film.
Another big difference in dialogue editing in this project compared to traditional cinema was the use of SoundField tracks. I decided to sync the Ambisonic tracks with the lavalier dialogue tracks to provide some authentic room reverberation and character. This meant that every time I made an edit to a dialogue track I had to check how that worked against the Ambisonic track. Replacing a bit of dialogue forced me to find the same bit in the corresponding SoundField clip and replace that, too. I tried to avoid doing any "iZotoping" for the Ambisonic tracks as RX does not support four tracks, only two. Splitting the Ambisonic tracks, editing them separately in RX and joining them back together would have been tedious.
I used very moderate equalisation and compression on the lavalier tracks, and only high-pass filter on the Ambisonic tracks. Even with the same actor and microphone the sound colour changed slightly from scene to scene, but I decided to live with that in order to save time. Only in a few places where the difference was too big I did some EQ'ing.
I also utilised some EQ-matching with the Equivocate plugin by Newfangled Audio. That was useful when in one shot the lavalier mic was clipping, but the camera and hence the SoundField mic were positioned also close to the actor. By changing the virtual polar pattern of the SoundField I could match its sound to the lavalier quite nicely and replace some distorted segments. The Equivocate's match-EQ feature made a nice starting point for the manual tweaking.
The dialogue editing for these two films took me about seven full days in total. I did not have much routine nor mentor or teacher helping me out, and also the 3D working environment caused a lot of head-scratching. On top of that it didn't help that each time the director decided to make changes to the editing, which happened a couple of times, I had to resync and re-edit a lot of material.
Next:
Previous: